
Can I Polish My Concrete Basement Floor? (What To Do)
There’s nothing that says slick like a polished floor. And a sleek and sexy polished concrete floor is not only easy to maintain, but it’s also relatively easy to do yourself.
One of the best things about the polished concrete floor, aside from the lack of maintenance, is that it looks great and it’s cheap. Okay, maybe it isn’t marble, but it still looks good, and for the work involved, it can make an impressive statement.
One can polish one’s concrete basement floor with a bit of work. A concrete grinding machine with multiple grades of grinding disc from 20-grit through 150-grit, and polishing discs from 200-grit to 3000-grit will be required.
A concrete grinder can be rented from most commercial tool rental companies. We’ll get more into this process next, but let’s clear one thing up. If you already have a polished floor and want to know if you can polish again on your own, skip ahead to Step 2 – Polishing.
But, if you want to know how to turn your average, concrete floor into a beautiful, polished masterpiece, then keep reading about the grinding process you’ll have to do first.
Before You Begin
Do a moisture test by duct-taping a large piece of clear food plastic wrap to the floor. Leave it for 24 hours. After the allotted waiting period, pull up the tape and check the plastic’s underside for moisture. Also, check the floor under where the plastic was taped. If either is moist, then action must be taken before polishing.
There may be moisture seeping up from under the floor. If this is the case, a pit and sump pump may be required to alleviate the rising moisture.
Step 1 – Grinding
The Rough Grind
The first thing that may needs completion is removing any rough spots, surface paints, or other existing coverings.
Most of the time, basement concrete floors are painted with typical concrete, mold-resistant paint, or unfinished.
Either way, it is best practice to start with a low grit grinding disc on a concrete grinder. However, it is worth mentioning that an angle grinder or alternative handheld grinder will also be a requirement for the corners and any other tight areas where the more massive concrete grinding machine will not fit.
The initial grind process may take several steps and stages, depending on how rough the floor’s concrete is. In most homes, the process involves between 2 and 6 stages of grinding.
Sealing Large Cracks
Following the rough grinding, it’s wise to seal any larger cracks, joints, or small holes that might be present within the floor. Epoxy patch or repair kits, like that made by Rustoleum, work well to fill smaller cracks.
Remember to leave ample time for any filler products to dry properly. Follow all manufacturer’s recommendations.
Further Grinding & Smoothing
Working your way up from the lower grit grinding and sanding discs, complete a pass over the floor with each subsequent grit level. You don’t have to use every possible grit in the sequence; in fact, it’s more efficient if you don’t, so try jumping from a 20 to a 30 then a 50-grit. Jumping the grit sequence is okay, as long as the steps aren’t too extreme. For example, going from a 20-grit to a 100-grit would be too much of a jump, but going from a 20-grit to a 30 or 40-grit would be acceptable. User discretion is advised.
Ideally, one will work their way up to between a 100-grit and 150-grit grinding disc. Remember that each time a new level of grinding faces completion, it will include completing the corners and smaller areas via an angle grinder or equivalent hand tool. The big grinding machine will not get to some of these areas (corners, under stairs, etc.).
More Sealing
The sealing process recommended is not only for cracks. There should ideally be a sealer treatment applied to the entire floor. This sealer is applied when the floor is smooth enough that little material will require removal. For instance, after the late 100 or 150-grit grinding is completed.
This impregnating sealer will ‘seep’ into the concrete and seal it, causing a moisture barrier of sorts to form. This sealer should sit for a time to cure before proceeding to the next stage correctly.
Step 2 – Polishing
Lapping
The use of ever-higher grit count discs is known as the lapping process. The grinding discs give way to polishing discs, generally starting at 150 to 200-grit coarse levels.
Wet Vs. Dry Polishing
With ever more refined levels of polishing, discs come ever finer dust. For this reason, wet polishing was invented. It is the process of polishing the floor using water to lower dust and keep the disc cool at the same time. Grinding cement can get quite warm after all.
Due to the concrete requiring drying time post-wet-polish, a more common method used professionally is the dry polish method. This method typically involves using a specially filtered shop vacuum of some sort that can collect the fine dust.
Most professional concrete polishing tradespeople use a combination of wet and dry grinding/polishing. Typically, the wet grinding is done with the highest levels of grit (most refined). In contrast, the roughest grinding is usually done using the dry method. Mostly this has to do with dust control.
What If The Concrete Is Soft?
If the concrete floor was poured incorrectly or faced environmental factors such as rain or high humidity when curing, sometimes the concrete won’t be as hard as we want for proper polishing.
Even if the concrete seems excellent and hard, it’s not wrong to apply a densifier.
Concrete densifiers are chemicals that soak into the concrete to harden it beyond the normal scope of curing. These products work exceptionally well with concrete that, as mentioned, may not have cured 100% correctly, leaving a slightly softer than the standard finished product.
Many professional concrete polishers swear by using densifiers. They often apply densifiers at the beginning, when grinding at lower grits like 20-grit through 80-grit. And often, the densifiers are re-applied after further grinding.
Densifiers will help to:
- Increase the lifespan of polished concrete
- Help avoid damage to the polished concrete surface
- Help seal the concrete and add strength
- Lock in upper layer colors
Final Polishing
When the last of the polishing is completed, usually at grits of between 1500 and 3000, gritted discs are complete. Technically, the job is completed, and the floor should be a nicely polished concrete at this point.
Final Treatment
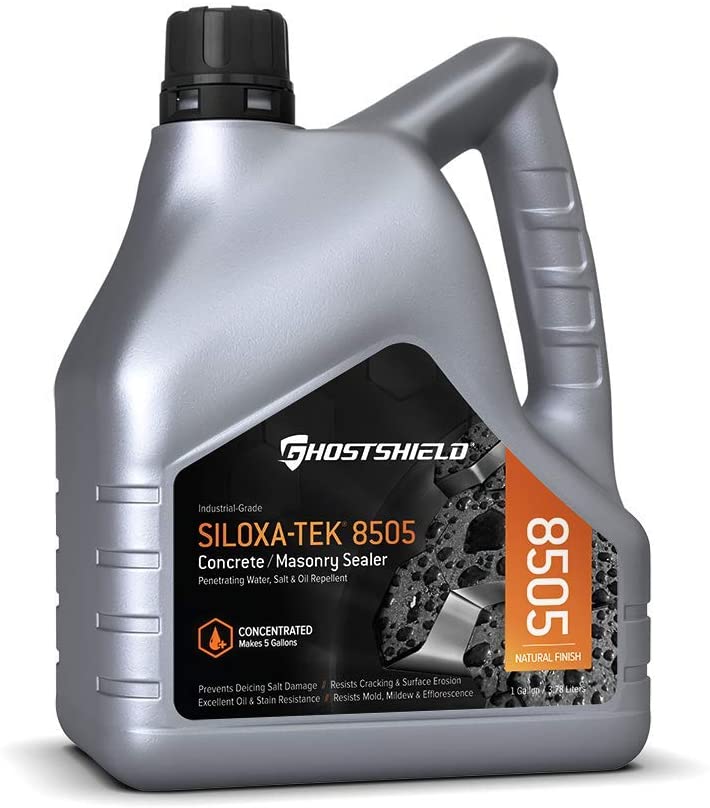
If you want to seal the deal and give your floor extra shine and durability, a stain guard treatment can be applied as the final stage of the polishing process.
Quality stain guard and sealer formulas like Ghostshield Siloxa-Tek 8505 might be slightly expensive, but are well worth every penny for the protection and longevity they add to your polished concrete floor.
Sources
https://www.concretenetwork.com/products-polishing/densifiers/
Amazon Affiliates Disclaimer.
This site is a participant in the Amazon Services LLC Associates Program, an affiliate advertising program designed to provide a means for sites to earn advertising fees by advertising and linking to Amazon.com. We are compensated for referring traffic and business to Amazon and other companies linked to on this site. Some of our links are affiliate links. We make a small commission if you use these links. As an Amazon Associate, I earn from qualifying purchases. It is important to do your own research to find what works best for you.